Problem: I used Insert, Picture to add a photograph at the top of my report. Excel displayed a new ribbon tab with dozens of options. What is all this stuff?
Strategy: Excel allows you to transform your photos in a number of ways.
The main gallery provides 28 different effects that you can add to the picture. The effects range from frames to soft edges to adding a shadow or perspective to the picture. Here are six of the 28 effects.

- Apply a style to a picture.
The Corrections and Color dropdowns actually show you tiny thumbnails of what your picture would look like with the various settings.
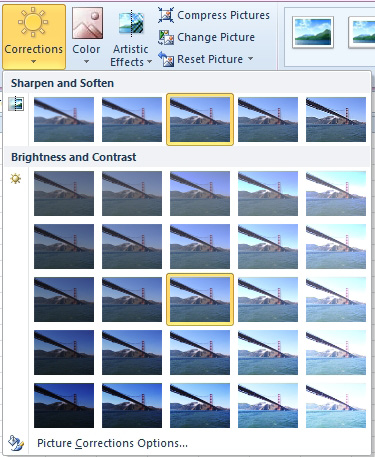
- The thumbnails gallery is a better way to correct.
The Artistic Effects allow you to apply various filters to the photo. The effects have exotic names such as marker, pencil grayscale, pencil sketch, line drawing, chalk sketch, paint strokes, paint brush, glow diffused, blur, light screen, watercolor sponge, film grain, mosaic bubbles, glass, cement, texturizer, crisscross edging, pastels smooth, plastic wrap, cutout, photocopy, and glow edges.
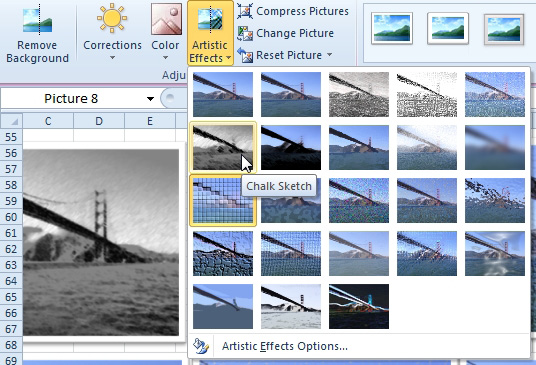
- Convert a picture to a chalk sketch or other variants.
Frequently, with today's digital cameras, a picture will be inserted and cover the entire first window of cells. You can grab the resize handle in the lower-right corner and hold down the Shift key while you drag up and to the left to make the image appear smaller. Making the image appear smaller does not change the size of the picture, however. With a picture selected, you can choose Compress Pictures to make the image size smaller. In the Compress Pictures dialog, you click the Options button to display the Compression Settings dialog. The dialog offers compressions sizes such as print, screen, or e-mail.
Gotcha: Note that by default, Excel will always do a compression when you save the file. If you are producing documents that are going to be printed in a glossy annual report, change this setting to Print before you save.
Additional Details: Another tool that is very useful is the Crop tool on the right side of the ribbon. When you click Crop, Excel adds eight cropping handles around the image. You can grab a handle and drag inward to crop the photo. When you are done, you click on the photo to perform the crop.